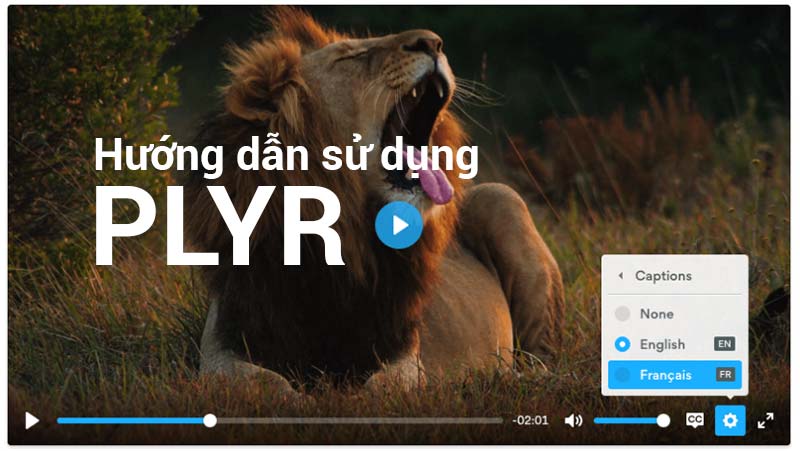
Trong quá trình làm website nghe Radio Online, mình gặp khó khăn khi không tìm được player hỗ trợ định dạng HLS (M3U8), các player miễn phí trên mạng như jPlayer, Muses chỉ hỗ trợ MP3, AAC, OGG. Mình có thử sử dụng player của Wowza nhưng từ 31/8/2021 nó chấm dứt hỗ trợ. Rất may là tìm được Plyr, nó hỗ trợ play tốt các link M3U8, trên mạng thấy ít bài viết về player Plyr, nên tiện làm mình dịch những chỗ cần thiết từ Document của Plyr cho ai cần tham khảo. Ok bắt đầu nhé.
Sơ qua về Plyr
Plyr là một trình phát đa phương tiện HTML5, hỗ trợ cả audio và video. Plyr có cấu trúc code đơn giản, nhẹ, có khả năng tùy biến cao, hỗ trợ hầu hết các trình duyệt hiện tại như Chrome, Firefox, Safari, Edge.
Tính năng
- 📼 HTML Video & Audio, YouTube & Vimeo – Hỗ trợ nhiều nguồn đầu vào.
- 📖 Accessible – Hỗ trợ hiển thị đa phụ đề.
- 🔧 Customizable – Có khả năng tùy biến giao diện player theo ý thích.
- 😎 Clean HTML – Code dễ hiểu.
- 📱 Responsive – Kích thước thích ứng với màn hình.
- 💵 Monetization – Hỗ trợ kiếm tiền từ video.
- 📹 Streaming – Hỗ trợ streaming qua giao thức hls.js, Shaka và dash.js (Cái này ít có player free nào hỗ trợ).
- 🎛 API – Hỗ trợ điều khiển qua API một số chức năng như tua, điều chỉnh âm lượng, tìm kiếm.
- 🔎 Fullscreen – Hỗ trợ hiển thị full màn hình
- ⌨️ Shortcuts – Hỗ trợ phím tắt
- 🖥 Picture-in-Picture – Hỗ trợ tính năng Picture-in-Picture (Video thu nhỏ xuống góc khi chuyển qua ứng dụng khác)
- 🏎 Speed controls – Hỗ trợ thay đổi tốc độ phát
- 👌 Preview thumbnails – Hỗ trợ hiển thị ảnh đại diện
- 🤟 No frameworks – được viết bằng “vanilla” ES6 JavaScript, không yêu cầu jQuery.
Hướng dẫn thiết lập
JavaScript
Khai báo thư viện plyr.js trước thẻ </body> và khởi tạo Player Plyr mới như bên dưới.
<script src="path/to/plyr.js"></script>
<script>
const player = new Plyr('#player');
</script>
Nếu không muốn lưu chữ plyr.js trên server, bạn có thể sử dụng CDN do Plyr cung cấp
<script src="https://cdn.plyr.io/3.6.7/plyr.js"></script>
Hoặc:
<script src="https://cdn.plyr.io/3.6.7/plyr.polyfilled.js"></script>
CSS
Thêm tệp plyr.css vào thẻ </head>
<link rel="stylesheet" href="path/to/plyr.css" />
Bạn cũng có thể dùng CDN của Plyr
<link rel="stylesheet" href="https://cdn.plyr.io/3.6.7/plyr.css" />
HTML5 Video
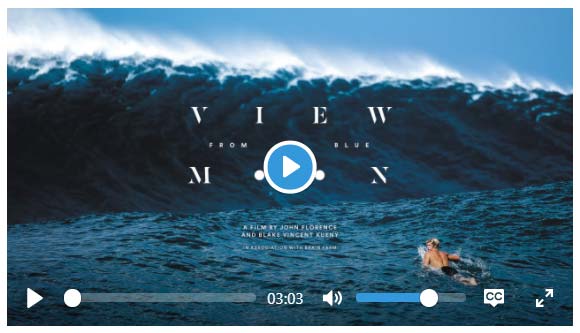
Xem Demo
<video id="player" playsinline controls data-poster="/path/to/poster.jpg">
<source src="/path/to/video.mp4" type="video/mp4" />
<source src="/path/to/video.webm" type="video/webm" />

<!-- Có tùy chọn thêm phụ đề -->
<track kind="captions" label="English captions" src="/path/to/captions.vtt" srclang="en" default />
</video>
Chú ý: Ảnh đại diện sử dụng thuộc tính data-poster thay vì poster để tránh trường hợp tải file ảnh hai lần. Nếu bạn chắc chắn ảnh sẽ được lưu trong cache, bạn có thể sử dụng thuộc tính poster như bình thường.
HTML5 Audio

Xem Demo
<audio id="player" controls>
<source src="/path/to/audio.mp3" type="audio/mp3" />
<source src="/path/to/audio.ogg" type="audio/ogg" />
</audio>
Youtube
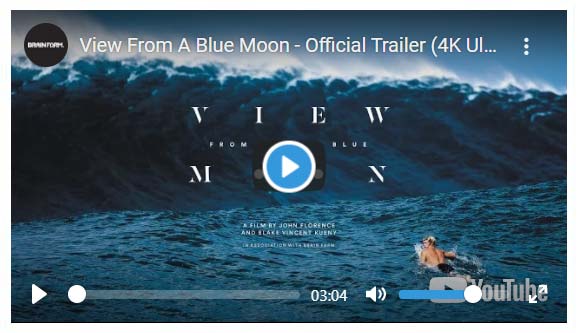
Xem Demo
Đối với Youtube khi nhúng video bằng thẻ <iframe> kích thước video thường bị fix cố định, Plyr sử dụng class plyr__video-embed bao ngoài thẻ <iframe> để video có khả năng reponsive. Ngoài ra thẻ này còn giúp Plyr thêm các thuộc tính điều khiển vào video như autoplay, loop, hl (youtube) và playsinline (youtube). Các bạn nên thay giá trị origin trong link bằng tên miền của bạn.
Có 2 cách để nhúng Youtube vào Plyr, cách thứ nhất sử dụng thẻ hoặc nhúng thẳng link vào thẻ <div> bằng cách khai báo hai thuộc tính data-plyr-provider và data-plyr-embed-id
Cách 1:
<div class="plyr__video-embed" id="player"> <iframe src="https://www.youtube.com/embed/bTqVqk7FSmY?origin=https://yourdomain.com&iv_load_policy=3&modestbranding=1&playsinline=1&showinfo=0&rel=0&enablejsapi=1" allowfullscreen allowtransparency allow="autoplay" ></iframe> </div>
Chú ý: Class plyr__video-embed sẽ làm video được nhúng responsive ở tỉ lệ phổ biến là 16:9. Khi Plyr tự khởi động, tỉ lệ tùy chỉnh do bạn thiết lập sẽ được sử dụng.
Cách 2:
<div id="player" data-plyr-provider="youtube" data-plyr-embed-id="bTqVqk7FSmY"></div>
Chú ý: Giá trị của thuộc tính data-plyr-embed-id có thể là Video ID hoặc Url của video
Vimeo
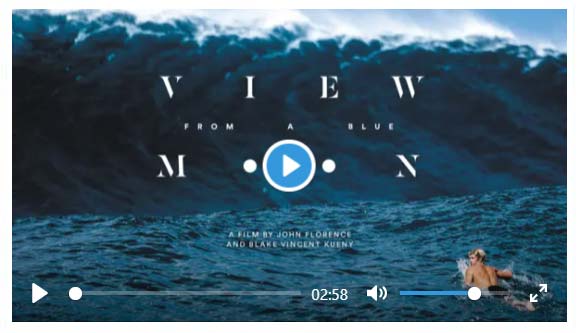
Xem Demo
Giống như youtube
Cách 1:
<div class="plyr__video-embed" id="player"> <iframe src="https://player.vimeo.com/video/76979871?loop=false&byline=false&portrait=false&title=false&speed=true&transparent=0&gesture=media" allowfullscreen allowtransparency allow="autoplay" ></iframe> </div>
Cách 2:
<div id="player" data-plyr-provider="vimeo" data-plyr-embed-id="76979871"></div>
JavaScript
Stream Dash.js

Xem Demo
<video controls crossorigin playsinline poster="https://bitdash-a.akamaihd.net/content/sintel/poster.png"></video>

<script src="https://cdn.dashjs.org/latest/dash.all.min.js">

<script>
document.addEventListener('DOMContentLoaded', () => {
// First real dialog starts around 1:47
const source = 'https://bitmovin-a.akamaihd.net/content/sintel/sintel.mpd';
// For more dash options, see https://github.com/Dash-Industry-Forum/dash.js
const dash = dashjs.MediaPlayer().create();
const video = document.querySelector('video');
dash.initialize(video, source, true);

// Update caption tracks after initializing Plyr to get the generated captions
// For more options see: https://github.com/sampotts/plyr/#options
const player = new Plyr(video, {captions: {active: true, update: true}});

// Expose player and dash so they can be used from the console
window.player = player;
window.dash = dash;
});
</script>
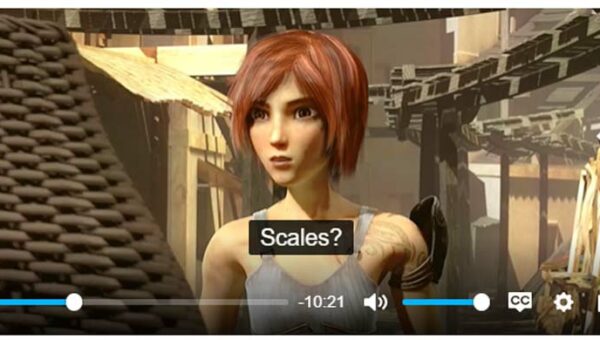
Stream Hls.js
Xem Demo
<video controls crossorigin playsinline poster="https://bitdash-a.akamaihd.net/content/sintel/poster.png"></video>

<script src="https://cdn.rawgit.com/video-dev/hls.js/18bb552/dist/hls.min.js"></script>

<script>
document.addEventListener('DOMContentLoaded', () => {
const source = 'https://bitdash-a.akamaihd.net/content/sintel/hls/playlist.m3u8';
const video = document.querySelector('video');

// For more options see: https://github.com/sampotts/plyr/#options
// captions.update is required for captions to work with hls.js
const player = new Plyr(video, {captions: {active: true, update: true, language: 'en'}});

if (!Hls.isSupported()) {
video.src = source;
} else {
// For more Hls.js options, see https://github.com/dailymotion/hls.js
const hls = new Hls();
hls.loadSource(source);
hls.attachMedia(video);
window.hls = hls;

// Handle changing captions
player.on('languagechange', () => {
// Caption support is still flaky. See: https://github.com/sampotts/plyr/issues/994
setTimeout(() => hls.subtitleTrack = player.currentTrack, 50);
});
}

// Expose player so it can be used from the console
window.player = player;
});
</script>
Stream Shaka Player

Xem Demo
<video controls crossorigin playsinline poster="https://ia800603.us.archive.org/30/items/Tears-of-Steel/tos-poster.jpg"></video>
<script src="https://cdnjs.cloudflare.com/ajax/libs/shaka-player/2.4.0/shaka-player.compiled.js">

<script>
document.addEventListener('DOMContentLoaded', () => {
const source = 'https://demo.unified-streaming.com/video/tears-of-steel/tears-of-steel-en.ism/.mpd';
const video = document.querySelector('video');
// For options (second argument) see: https://github.com/sampotts/plyr/#options
const player = new Plyr(video);
// Expose player so it can be used from the console
window.player = player;

// For more Shaka Player options, see: https://github.com/google/shaka-player
if (shaka.Player.isBrowserSupported()) {
// Install built-in polyfills
shaka.polyfill.installAll();
const shakaInstance = new shaka.Player(video);
shakaInstance.load(source);
} else {
console.warn('Browser is not supported!');
}
});
</script>
Chèn quảng cáo vào video bằng Plyr
Plyr hỗ trợ chèn quảng cáo trong video thông qua vi.ai chỉ bằng vài thao tác đơn gián
Đăng ký một tài khoản vi.ai
Lấy ID nhà xuất bản của bạn
Thiết lập quảng cáo và gắn ID nhà xuất bản của bạn vào video.
<video src="/path/to/video.mp4" id="player" controls data-plyr-config='{ "ads": "enabled: true, publisherId: 'Your_Vi_ID', tagUrl: ''" }'></video>
Nếu không muốn sử dụng Vi, bạn có thể đặt tùy chọn ads.tagUrl của riêng mình.
Tùy biến giao diện Plyr
Nếu bạn muốn thay đổi giao diện của player, bạn có thể thay đổi các tham số CSS tùy chỉnh
Bạn có thể thiết lập cho toàn bộ các player trong thẻ root:
:root { --plyr-color-main: #1ac266; }
hoặc cho một player cụ thể
.player { --plyr-color-main: #1ac266; }
hoặc ngay trong thẻ <video>
<video class="player" style="--plyr-color-main: #1ac266;"> ... </video>
Xem danh sách các thuộc tính hỗ trợ
Hiển thị phụ đề
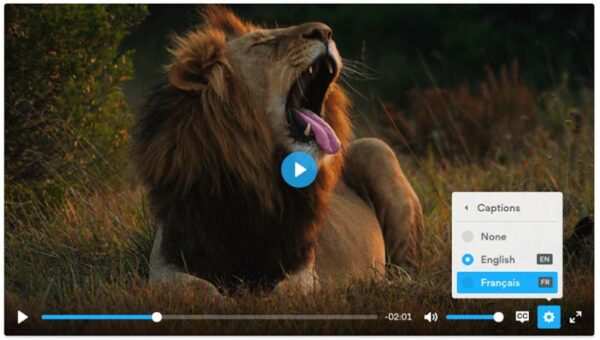
Plyr hỗ trợ phụ đề định dạng WebVTT, để thêm phụ đề vào video sử dụng thẻ <track>. Trước khi thêm phụ đề bạn phải chắc chắn rằng file phụ đề đúng định dạng, bạn có thể kiểm tra phụ đề tại đây.
Một video có thể có nhiều phụ đề
<track kind="captions" label="English captions" src="/path/to/captions.vtt" srclang="en" default />
Các Option cho video
Khai báo các tham số cho video khi khởi tạo player
const player = new Plyr('#player', {
title: 'Example Title',
});
Hoặc khai báo trực tiếp trong thẻ <video> bằng thuộc tính data-plyr-config
<video src="/path/to/video.mp4" id="player" controls data-plyr-config='{ "title": "Example Title" }'></video>
Một số thuộc tính thường dùng
“autoplay”:”true” // Thiết lập autoplay
“seekTime”:”10″ // Thiết lập thời gian tua
“volume”:”1″ // Thiết lập tâm lượng
“mute”:”false” // Thiết lập tắt âm thanh
“hideControls”:”true” // Thiết lập hiển thị thanh điều khiển
“captions”:”active: false, language: ‘auto’, update: false” // Thiết lập hiển thị phụ đề
“speed”:”selected: 1, options: [0.5, 0.75, 1, 1.25, 1.5, 1.75, 2]” // Thiết lập tốc độ phát.
“quality”:”default: 576, options: [4320, 2880, 2160, 1440, 1080, 720, 576, 480, 360, 240]” // Thiết lập chất lượng video
Một cách khác để khai báo các tham số cho video là khai báo trong player.source
Với Video:
player.source = {
type: 'video',
title: 'Example title',
sources: [
{
src: '/path/to/movie.mp4',
type: 'video/mp4',
size: 720,
},
{
src: '/path/to/movie.webm',
type: 'video/webm',
size: 1080,
},
],
poster: '/path/to/poster.jpg',
previewThumbnails: {
src: '/path/to/thumbnails.vtt',
},
tracks: [
{
kind: 'captions',
label: 'English',
srclang: 'en',
src: '/path/to/captions.en.vtt',
default: true,
},
{
kind: 'captions',
label: 'French',
srclang: 'fr',
src: '/path/to/captions.fr.vtt',
},
],
};
Với Audio:
player.source = {
type: 'audio',
title: 'Example title',
sources: [
{
src: '/path/to/audio.mp3',
type: 'audio/mp3',
},
{
src: '/path/to/audio.ogg',
type: 'audio/ogg',
},
],
};

Với Youtube

player.source = {
type: 'video',
sources: [
{
src: 'bTqVqk7FSmY',
provider: 'youtube',
},
],
};
Với Vimeo:
player.source = { type: 'video', sources: [ { src: '143418951', provider: 'vimeo', }, ], };
Trên đây là một số cách dùng Plyr mình thấy cần thiết, chi tiết hơn bạn có thể xem thêm trong Document của Plyr.
Nếu có gì thắc mắc bạn có thể để lại comment dưới đây nhé.
